
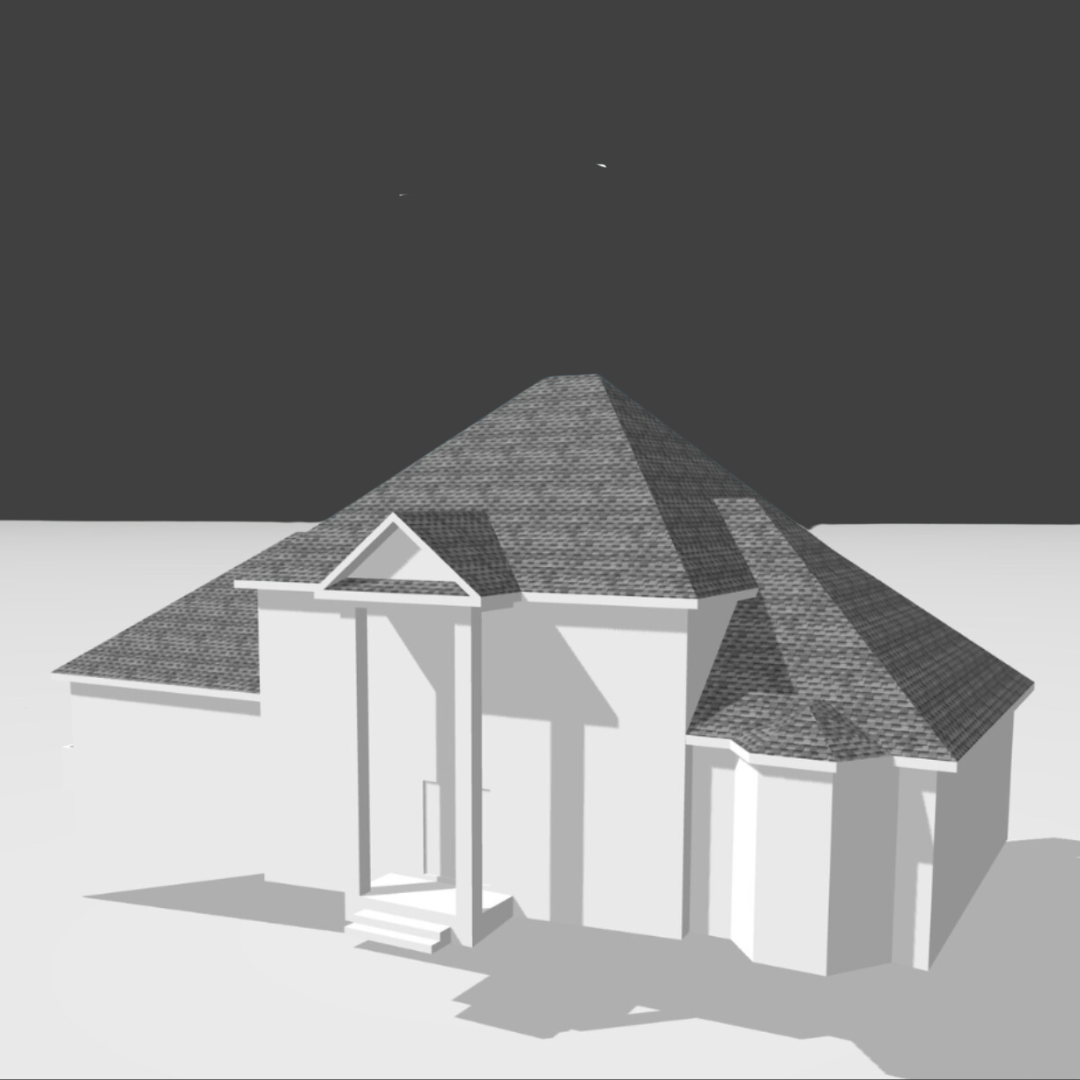
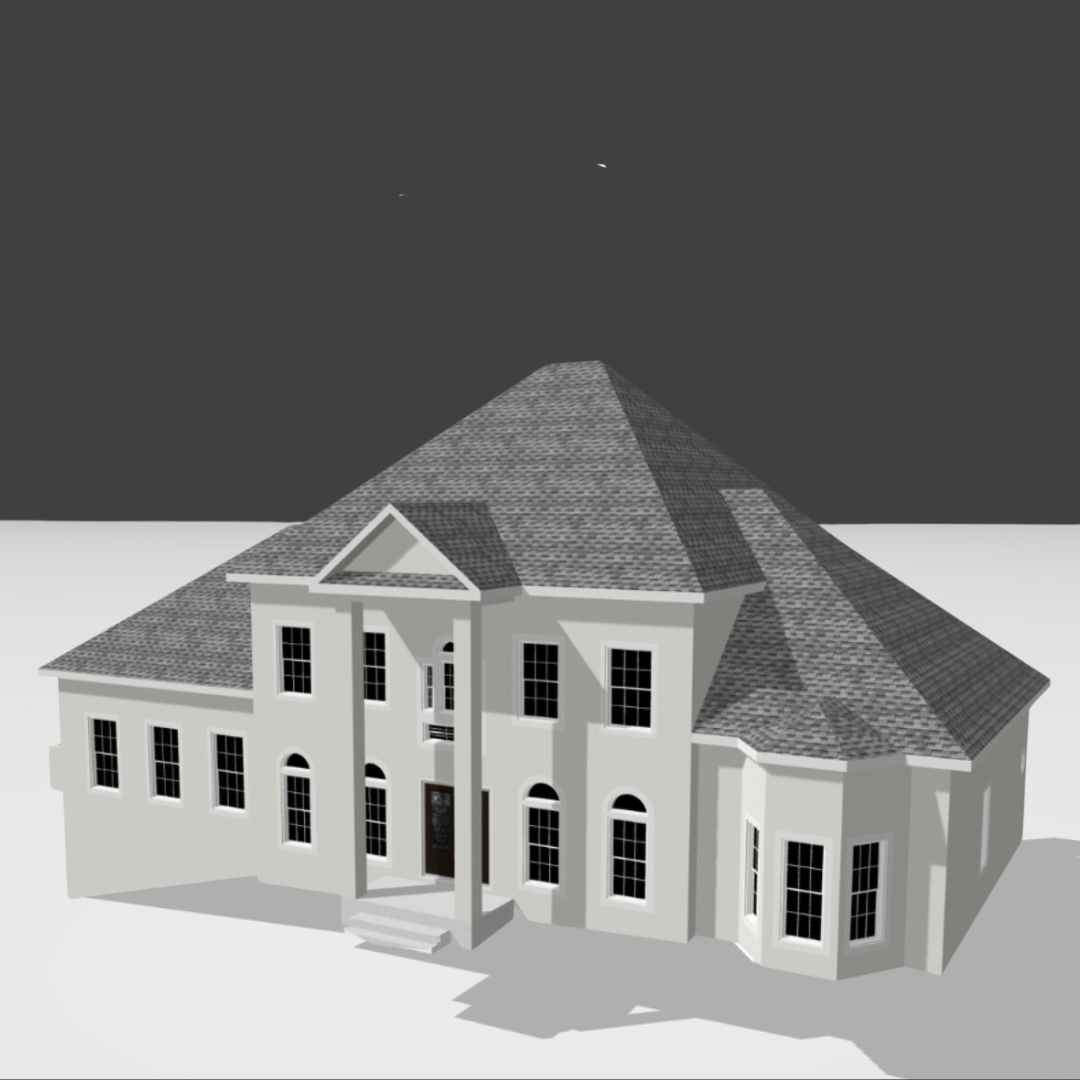
Hover uses smartphone photos to create a 3D model of the exterior of any property. It’s as simple as taking 8 photos around the property with the app; capture one of each side and corner.
If a property has multiple structures, such as sheds, barns or detached garages, capture each structure separately.
Each building on a property is measured and modeled as a separate order.
Click the arrows within this article to expand or collapse additional information.
Start a new project
Once you've downloaded the app and are ready to take pictures of a property, start a new project:
Tap the '+' at the bottom center of your screen or tap Start a project
Tap Exterior measurements
Specify what you're measuring: roof only, full exterior, or photos only
What's the difference between roof only, full exterior, and photos only?
What's the difference between roof only, full exterior, and photos only?
The Roof only option only includes the measurements, material, and model of the roof, including soffit. (Upgrade to Full exterior anytime!)
The Full exterior option includes measurements, materials, and model for the roof and elevations, openings, gutters, and downspout count.
Choosing to "Save photos now. Order later." (i.e. Photos Only) lets you take the photos, but order the 3D data later - either roof or full exterior options. No cost until you submit the project!


You will be directed to enter additional property details before tapping Get started.
Include the name of the property
Address of the property
Claim or lead number, if applicable
Use the Wallet drop down to bill the job to an insurance carrier or other partner
Use the Deliverable drop down to select your measurement type

Take photos
Our in-app photo guide will pop up with some "best practices" and safety reminders. Once you've reviewed them all, click Continue and Start capture.
To take pictures of the property, simply tap any spot on the grid to get started!

Can I take more than eight photos?
Can I take more than eight photos?
Yes! If you can't capture the entire side or corner of a property, don't hesitate to add more photos. There is no limit to the number of photos that you can take.
Tap on the photo spot in the grid and then tap “add photos”.
Any additional photos added in this way will be used to build the 3D model.

How do I include photos of property damage?
How do I include photos of property damage?
After you have finished taking at least 8 photos, you may add more photos for documentation reasons - such as damage to the structure and surrounding area - in the “Add extra photos” section.
Photos added in this section will not be used to build the 3D model, but will be included in the photo gallery.

Submit your photos
When you've finished taking photos of the property, complete your submission by:
Choosing a delivery speed (standard or expedited**)
Choosing a Bill to (if more than one wallet is on file)
(Optional) Adding internal notes for you or your team
**Expedited delivery is only available for projects from photos. If you upload a blueprint, you won't have the option to select expedited delivery.
Before you submit the project: It's a good habit to collect at least one reference measurement before leaving the property. Record the measurement in the internal notes section, if needed. Tap Add job note:

Internal notes cannot be seen by the Hover team, but you or a team member can easily refer to this section if we request a reference measurement.
Click Finish and you're done! We will notify you when the 3D model and measurements for your property have been finalized.
Still have questions? Reach out to our support team.
Call us (+1.844.754.6837). We're real people and ready to help!
Email us ([email protected]). We'll usually reply in about 30 min.
Chat with us. We generally answer in less than 3 mins.